How to Set Up Greeting Card Artwork for Print
Setting up greeting card artwork for print means preparing your design so it prints, folds and trims exactly as you intended. Size, bleed, resolution and colour are all decided in the artwork before it reaches the press, so they are the details worth settling first.
I’m Nev, the Studio Manager here at Ashley House, and I’ve been in the print game for 30 years, most of it in pre-press. Plenty of the greeting cards that come across my desk are lovely pieces of artwork that need a small adjustment before they are ready for press.
This guide walks through how to set yours up, whether you are an illustrator turning a painting into a range of cards, a designer producing Christmas cards for a client, or a business printing its own.
When your artwork is ready, our greeting card printing service picks up from there.
Key points
- Set your document to the flat size of the card plus 3mm bleed on every edge.
- Keep text and logos inside a 5mm safe zone, and run front artwork 1 to 2mm past the fold.
- Supply images at 300dpi at the final print size, with the artwork in CMYK.
- Send a single print-ready PDF with fonts embedded or outlined, and our pre-press team will check it before it prints.
- HP Indigo digital printing is the economical choice up to around 500 cards, and there is no minimum order quantity.
Start with the right card size and fold
Decide the finished size and the way the card opens first, because both change how you build the artwork. A folded greeting card is printed flat on one sheet and then creased, so the flat artwork is always larger than the card you end up holding.
Artwork sizes for A6, A5 and square cards
The table below gives the dimensions for each card, width first. Set your document to the artwork size with bleed, and keep anything important inside the safe zone:
| Card | How it opens | Flat trim size | Artwork size with 3mm bleed | Safe zone |
| A6 portrait | Folds on the left | 210 x 148mm | 216 x 154mm | 200 x 138mm |
| A6 landscape | Folds along the top | 148 x 210mm | 154 x 216mm | 138 x 200mm |
| A6 landscape | Folds on the left | 296 x 105mm | 302 x 111mm | 286 x 95mm |
| A5 portrait | Folds on the left | 297 x 210mm | 303 x 216mm | 287 x 200mm |
| A5 landscape | Folds along the top | 210 x 297mm | 216 x 303mm | 200 x 287mm |
| A5 landscape | Folds on the left | 420 x 148mm | 426 x 154mm | 410 x 138mm |
| Square (148mm) | Folds on the left | 296 x 148mm | 302 x 154mm | 286 x 138mm |
| Square (148mm) | Folds along the top | 148 x 296mm | 154 x 302mm | 138 x 286mm |
Single-sided flat cards, postcard style, are an option too, and they are quicker to set up because there is no fold to plan around.
Envelopes are available in white or kraft, and A6 and A5 cards fit standard C6 and C5 envelopes. If you’re unsure which size or format is right for your project, give our friendly team a call on 01392 202320 before you start.
Build in bleed, a safe zone and room for the fold
Cards are printed on large sheets and cut down to size on a guillotine, and there is always a small amount of movement in the cut. Two measurements allow for it, and folded cards need a third.
How trimming and creasing affect your artwork
The first is bleed. If your design runs to the edge of the card, extend it 3mm past the trim line on every side, so the colour still reaches the edge when the sheet is cut. The Greeting Card Association recommends the same 3mm in its guidance on bleed and trim, and it is the standard we work to.
The second is a safe zone. Keep text, logos and anything important at least 5mm inside the trim line, because the cut can land fractionally inside the line as well as outside it. The safe zone sizes in the table above already allow for this.
The third is the fold. If your front design wraps towards the spine, extend it 1 to 2mm past the fold so no white line shows along the crease. We can also set the fold very slightly off centre, so the front panel sits just proud of the back and the card is easier to open.
Get your resolution and colour right
Resolution and colour decide whether your artwork reproduces the way it looks on screen, and both are set in the artwork before it is sent.
300dpi, CMYK and building black correctly
Resolution. Supply images at 300dpi at the final print size. A picture saved from a website is usually 72dpi and will print soft or pixelated, and enlarging a small image cannot add detail that was never captured. Start from a high-resolution scan or photograph. If you are photographing original artwork, shoot it square-on in good, even light.
Colour. Presses print in CMYK, a four-colour split, while screens display RGB. RGB can show brighter blues, greens and oranges than ink on paper can reproduce, so convert your artwork to CMYK and check it on screen before you send it over. We convert any RGB artwork at the proofing stage, but converting it yourself first means you see any colour shift at your desk, where it is simple to adjust.
Large areas of solid black print deeper as a rich black, built from a mix of inks. Small text and fine lines should stay at 100% black only, which keeps them crisp. On a bespoke order, if an exact brand colour matters, we can match it with a Pantone spot colour, and if you would like a metallic highlight, foiling is an option. Let us know early so we can plan the artwork around it.
Lay out the front, inside and back together
A folded card is one flat sheet with an outside and an inside, so plan the panels together rather than as separate pages.
Panel order and what to put on the back
On the outside of a card that folds on the left, the back and the front sit side by side; on the inside, you have the left and right panels. A card that folds along the top stacks its panels one above the other instead. Lay them out so nothing ends up upside down or mirrored once the card is folded, and check the order again before you export.
The back of the card is worth planning, especially if you sell your cards. It usually carries the title of the design, your name or business name, a logo, your website, the copyright symbol and the year. Illustrators and card publishers often add a barcode and a product code as well, which helps shops reorder.
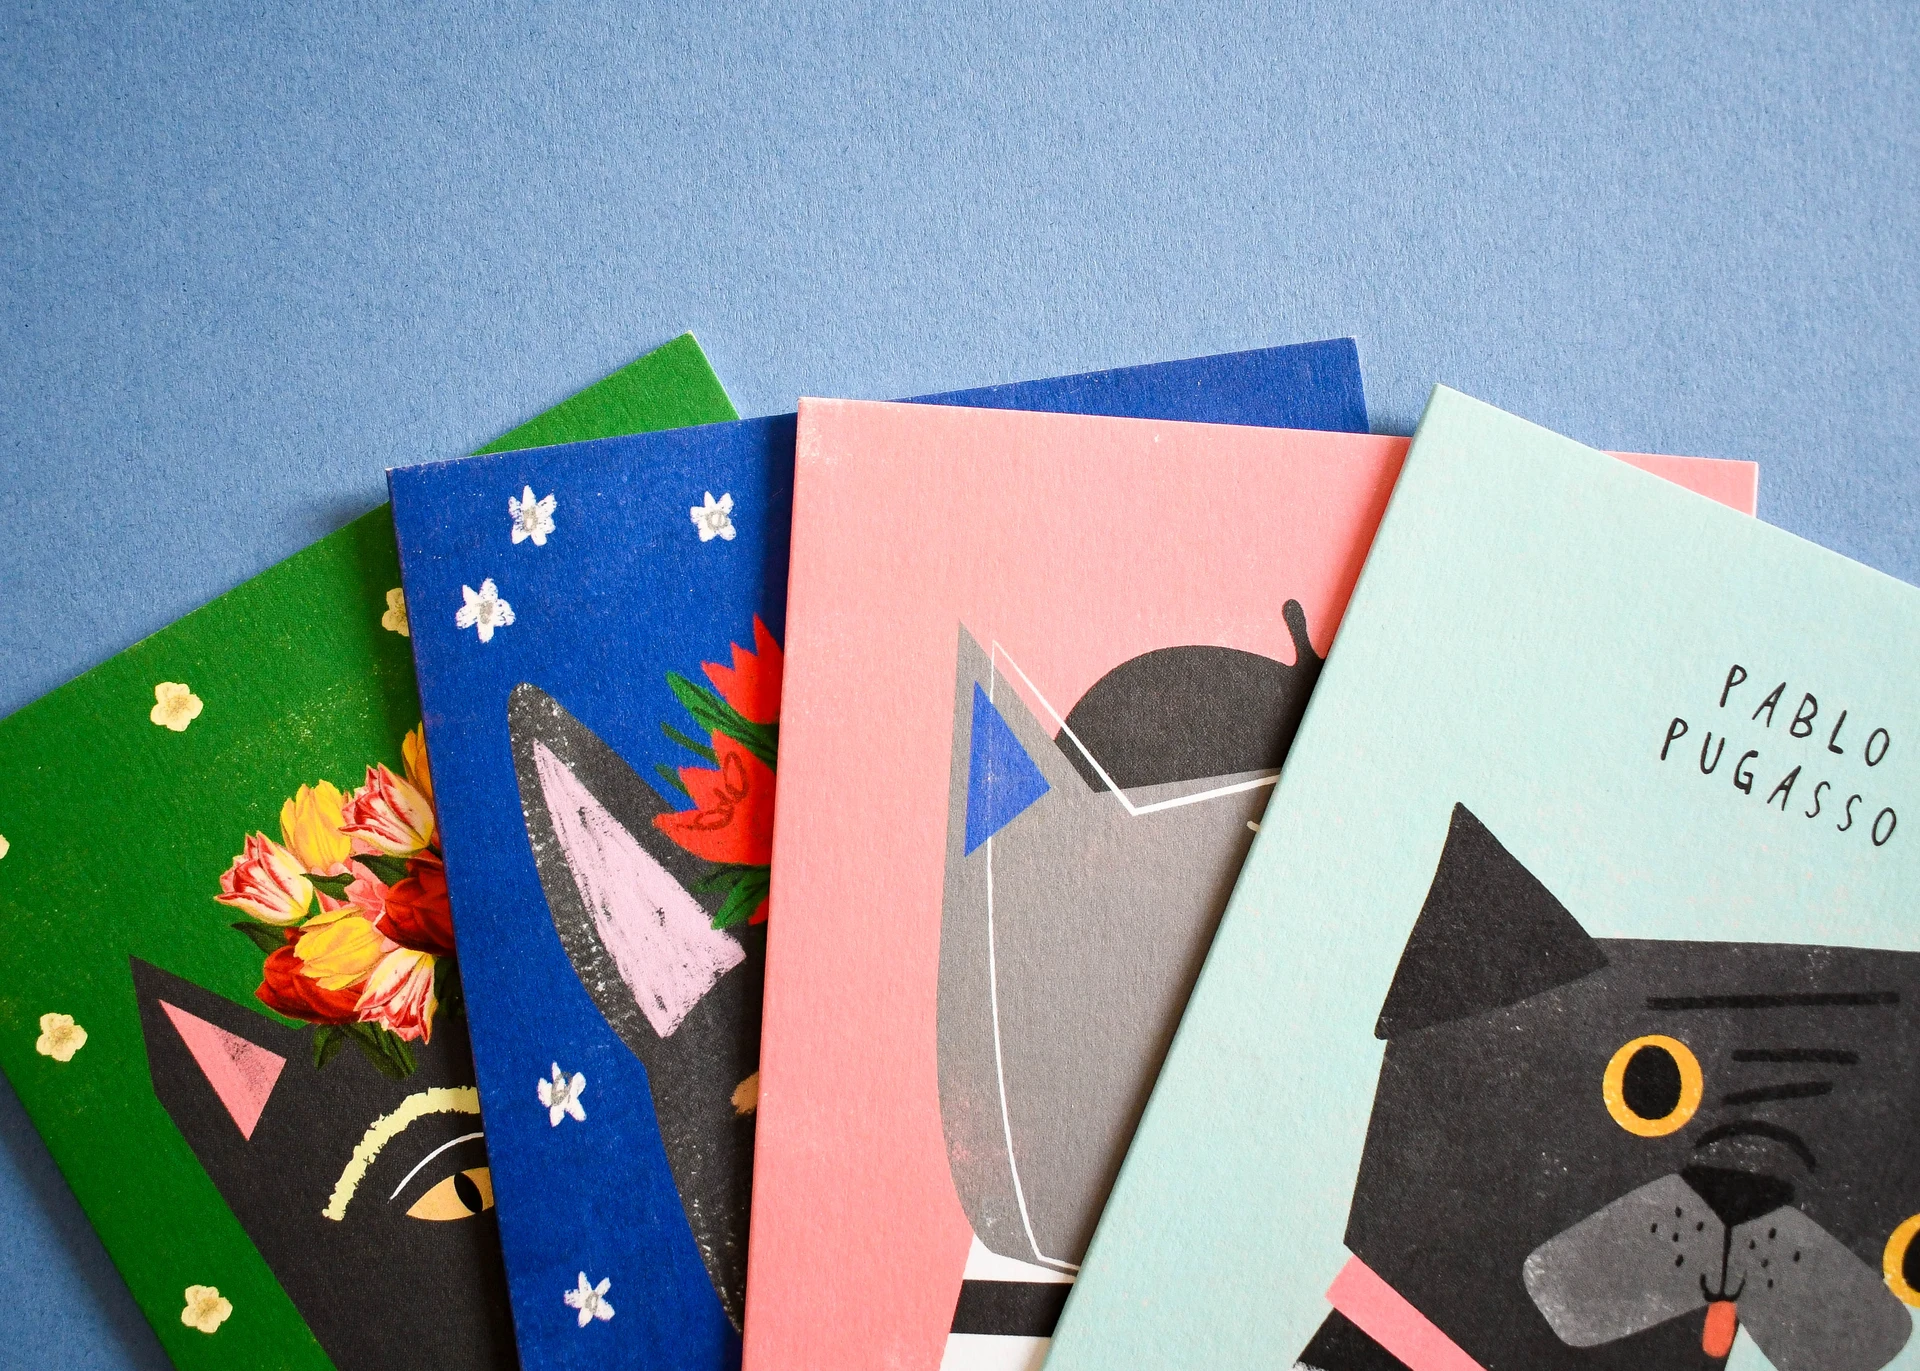
Work from a card template
A template for your exact card size is the simplest way to keep bleed, trim, the safe zone and the fold in the right place.
Using the guide layer, then removing it before export
Ask us for a template before you start. It marks every line from the table above, so you can position your design with confidence.
Keep the template’s guide lines on their own layer, and hide or delete that layer before you export. The coloured guides are there to help you position the artwork, and if they are switched on at export they will print as faint lines across the finished card.
Choose your paper stock and finishes
Paper changes how a greeting card feels in the hand and how your artwork reads, so it is worth choosing deliberately.
Uncoated, coated and how finishes affect recycling
Uncoated stock is a capable, popular choice, and around 75% of our brochure work now runs on it. It has a natural, tactile surface, suits illustration and type, and takes a pen, which matters when someone is writing a message inside. Coated stocks, silk or gloss, hold fine detail and lift saturated colour, so they suit photography and image-led designs. Every paper we use is FSC® certified and responsibly sourced.
If you order through our online shop, greeting cards come on four 350gsm quick-order stocks: silk, smooth uncoated, 100% recycled uncoated and textured uncoated. Bespoke orders can be printed on any weight or type of stock, including designer papers.
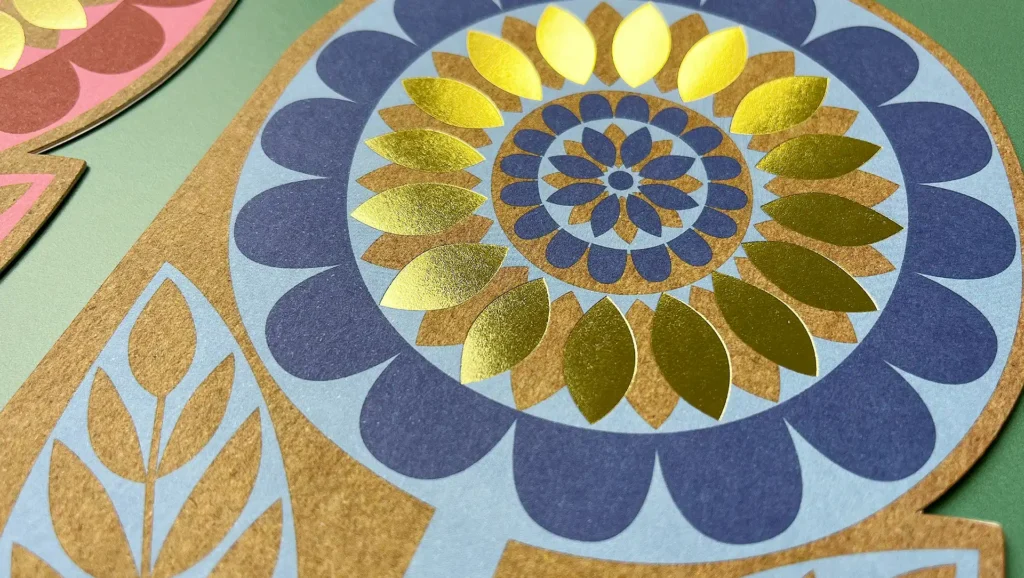
For something more special, soft touch lamination, spot UV varnish, foiling, embossing and die-cutting are all applied in-house, in our own bindery and finishing department in Exeter, Devon. Our guide to print finishes explains each one.
If sustainability matters to you, traditional plastic lamination is the finish to think carefully about, as it makes a card harder to recycle. Varnishes, embossing and foils used in moderation have a much smaller impact, and a biodegradable lamination is available.
We are a Carbon Balanced Printer through the World Land Trust, our paper has been carbon balanced as standard since 2014 at no extra cost, and we print on 100% green energy with a zero landfill policy. You can read more on our eco-friendly printing page.
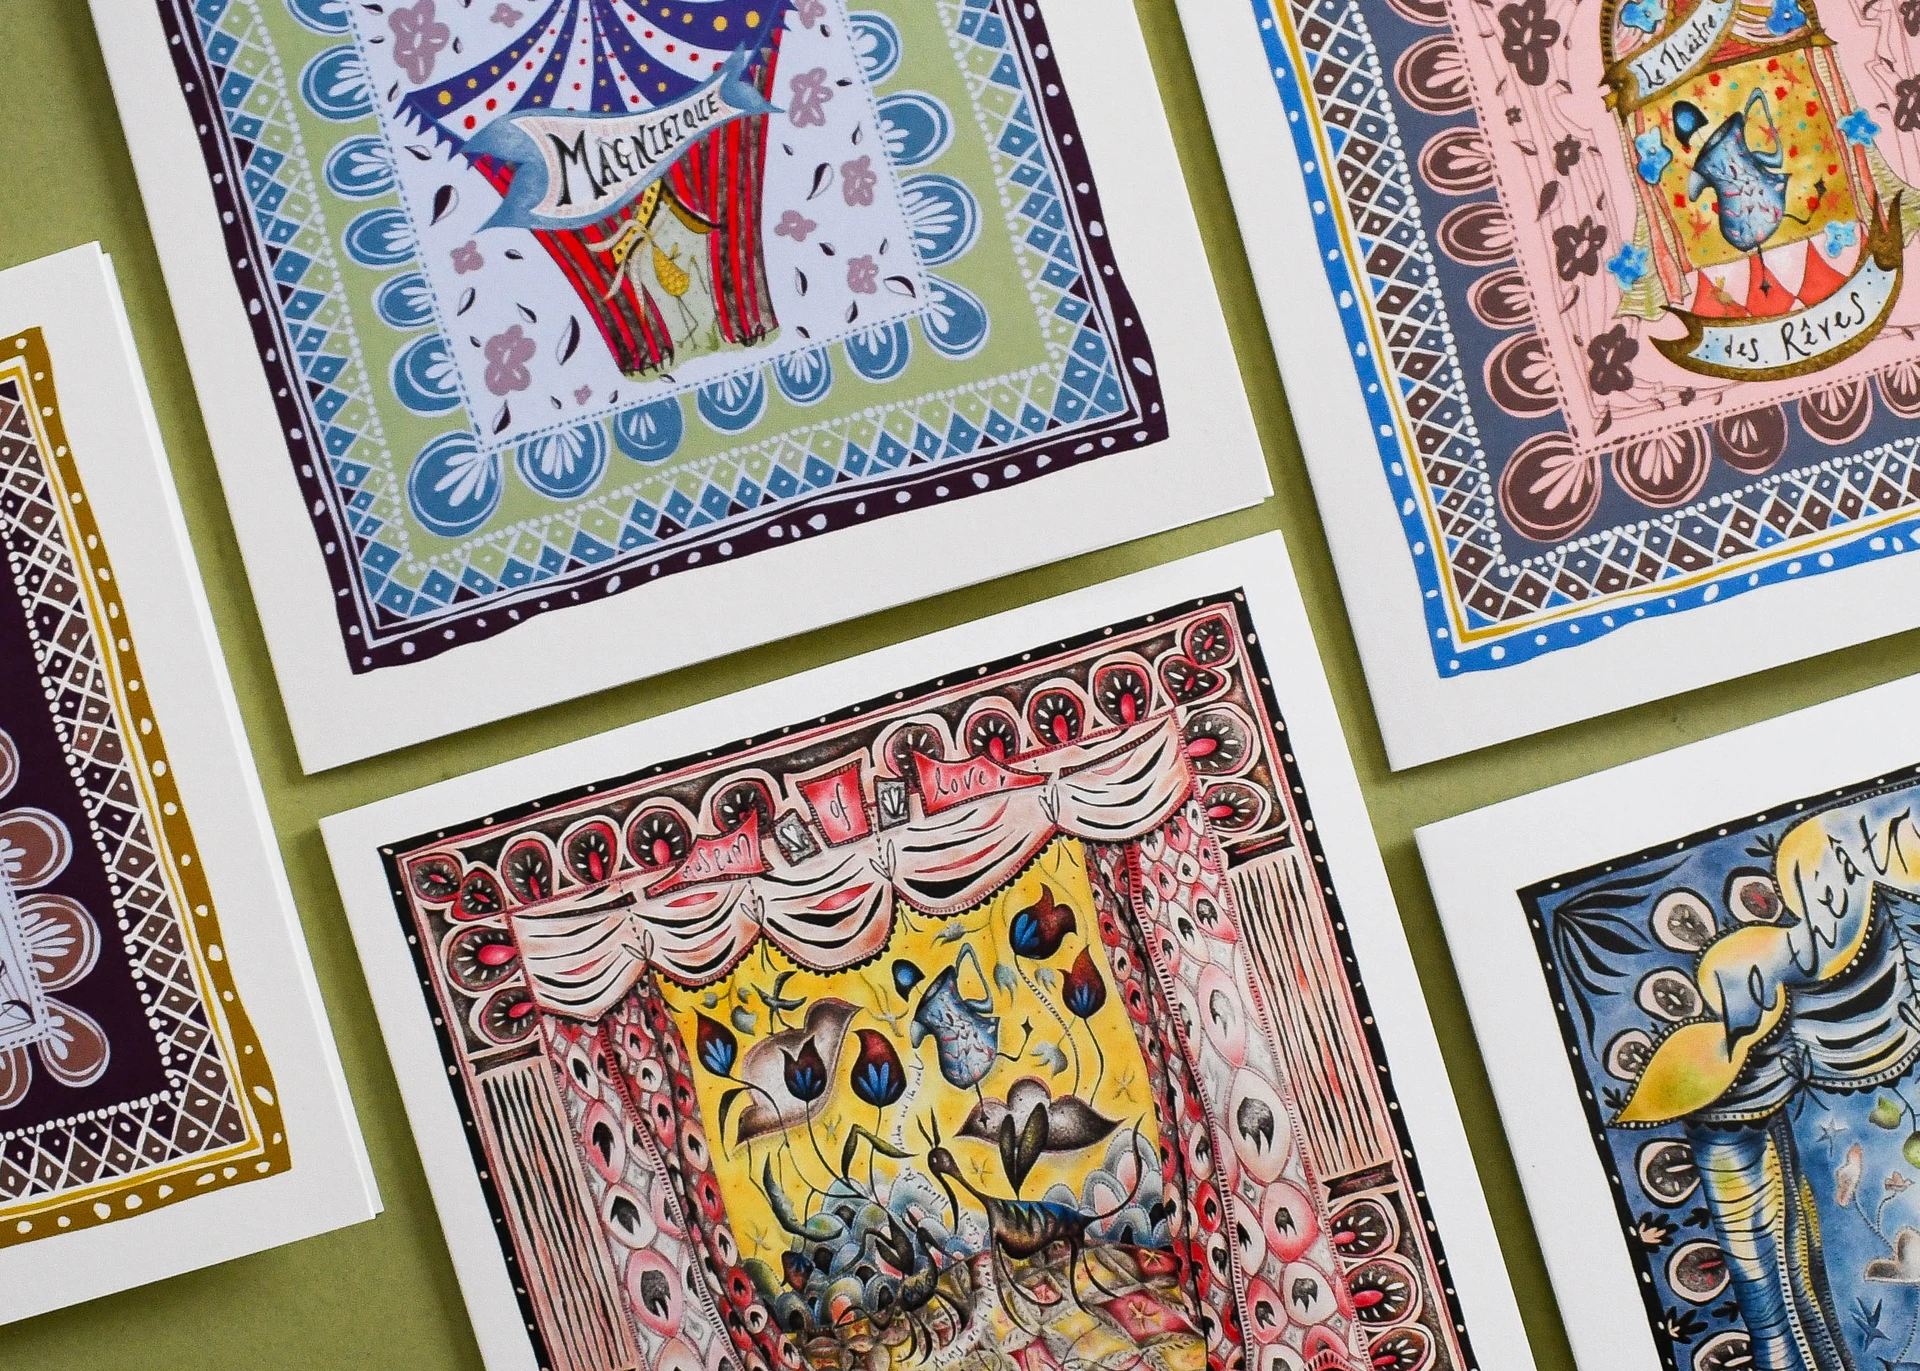
Deciding between digital and litho printing
The number of cards you need points to the right press, and your artwork is set up the same way for either.
How your quantity decides the press
Our HP Indigo 7900 digital press is the economical choice up to around 500 copies, which suits short runs, test batches and personalised cards. It also handles variable data printing, so each card in a run can carry a different name or message. For longer runs, our Heidelberg Speedmaster lithographic presses give the best value.
There is no minimum order quantity, so you can print exactly what you need. If you are launching a new range, a short digital run shows you which designs sell before you reprint the popular ones in larger quantities.
Check your artwork before you export
A final check at your end keeps the proofing stage quick, and it covers the same points our pre-press team looks at.
A pre-flight checklist from our pre-press studio
Run through this list before you send anything over:
- Document set to the flat size, with 3mm bleed on all sides
- Crop marks included for a bespoke order, or no printer marks for artwork uploaded to our online shop
- Images at 300dpi at final size, with no enlarging of low-resolution images
- Colour in CMYK, plus any Pantone spot colours you have specified
- Text and key elements inside the 5mm safe zone
- Template guide layer hidden or deleted
- Rich black for large solid areas, 100% black for small text and fine lines
- Fonts embedded or outlined
- Panels in the right order, exported as a single print-ready PDF
A print-ready PDF is what we prefer to receive, and we also accept working files from InDesign, Illustrator or Photoshop. If you do not have design software, or a designer, our graphic design studio can set up the artwork for you.
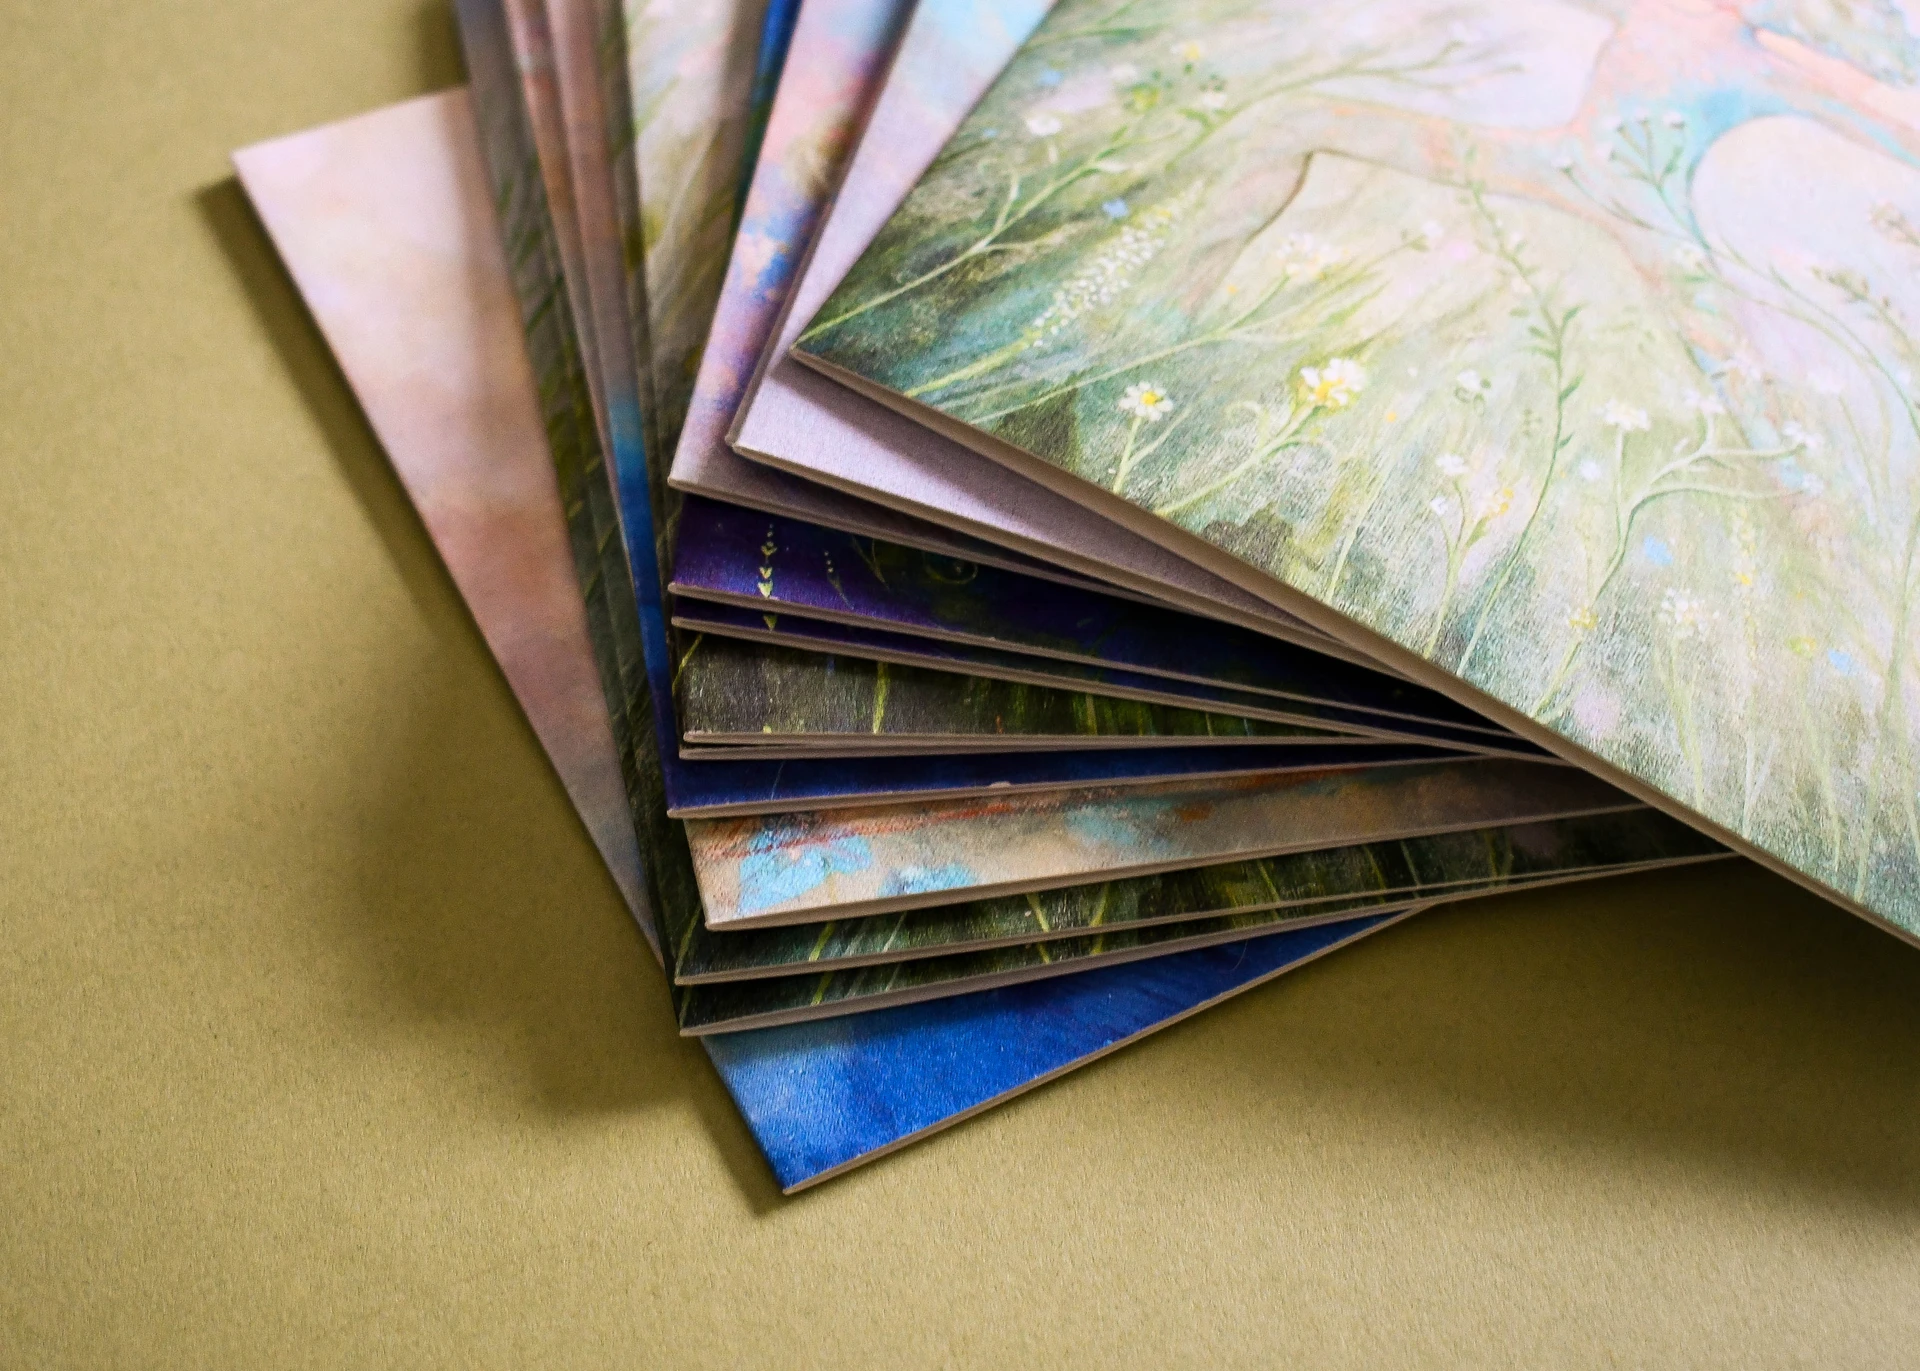
Next steps
Even with everything above in place, a second check from people who print greeting cards every week is worthwhile. Send your artwork to our pre-press and proofing team for pre-flight checks before anything goes on press. We then produce a printed proof on our calibrated Epson proofers, so you can approve colour and layout before the full run, and for colour-critical work you are welcome to see it in person at our Exeter studio.
When you are ready to order, take a look at our greeting card printing service. If you are an artist or photographer choosing stocks and quantities for a range, our guide to greeting card printing for photographers and artists covers those decisions, and if you are turning cards into a business, read how to start a greeting card printing business.
Frequently Asked Questions
-
Choose your finished size and how the card opens, set your document to the flat size with 3mm bleed, and work in CMYK with images at 300dpi. Lay out the front, inside and back panels, keep text inside the 5mm safe zone, then export a single print-ready PDF. Send it to your printer for an artwork check and a proof before the full run.
-
Start with a high-resolution scan or photograph of your original, and place it into a card template at the correct size with bleed and the safe zone allowed for. Add your details to the back: the title, your name, your website and the copyright line. Approve a proof before the full run goes ahead.
-
InDesign is ideal for laying out a folded card, and Illustrator or Photoshop work well too. What matters most is a print-ready PDF that meets the checklist above. If you would rather not set it up yourself, our graphic design studio can do it for you.
-
Add 3mm of bleed to every edge of the flat artwork, and keep text and logos at least 5mm inside the trim line. For a folded card, extend the front design 1 to 2mm past the fold as well.
-
Use an image that is 300dpi at the final card size, convert it to CMYK, and extend it 3mm past every edge if you want it to run to the edge of the card. Avoid enlarging a small web image, as it will print soft.